
Guest Wi-Fi networks are indispensable tools for fostering a secure and hospitable digital environment in various settings. They crucially safeguard the main network by isolating guest users, minimizing the risk of unauthorized access and potential cyber threats. According to a 2022 study by Cybersecurity Ventures, cybercrime is anticipated to inflict damages totaling $6 trillion annually by 2021, underscoring the imperative need for robust network security measures.
Providing guests with dedicated Wi-Fi access not only facilitates seamless connectivity but also ensures the privacy and integrity of their data, as well as that of the host network. This dual-faceted approach optimally balances hospitality and security, making Guest Wi-Fi setups an invaluable asset for individuals and businesses alike.
Understanding Guest Wi-Fi
Understanding Guest Wi-Fi necessitates recognizing it as a distinct access point, operating independently from the main network. This separate enclave ensures secure, controlled internet access for guests while preserving the host's network integrity and data privacy.
Why Set Up Guest Wi-Fi?
Setting up Guest Wi-Fi is imperative for securing your primary network while offering visitors easy, isolated access to the internet. It inherently balances robust security with hospitable connectivity, serving both hosts and guests effectively.
- Enhanced Security: Guest Wi-Fi mitigates security risks, providing a safeguard against potential threats. 294 million people were affected by data breaches in 2021; thus, separating guest and main networks is crucial for preventing unauthorized access and protecting sensitive data.
- Network Management: Guest networks facilitate efficient network control and monitoring. For instance, administrators can limit bandwidth or block access to specific sites, ensuring optimal performance and compliance with usage policies. This structured oversight is instrumental in maintaining a robust and dependable internet framework.
- Improved Guest Experience: Offering guest Wi-Fi exemplifies attentive customer service. A dedicated guest network provides visitors with a swift, secure, and reliable connection, enhancing their overall experience.
Essential Preliminaries for Flawless Guest Wi-Fi Setup
Evaluate Your Internet Plan
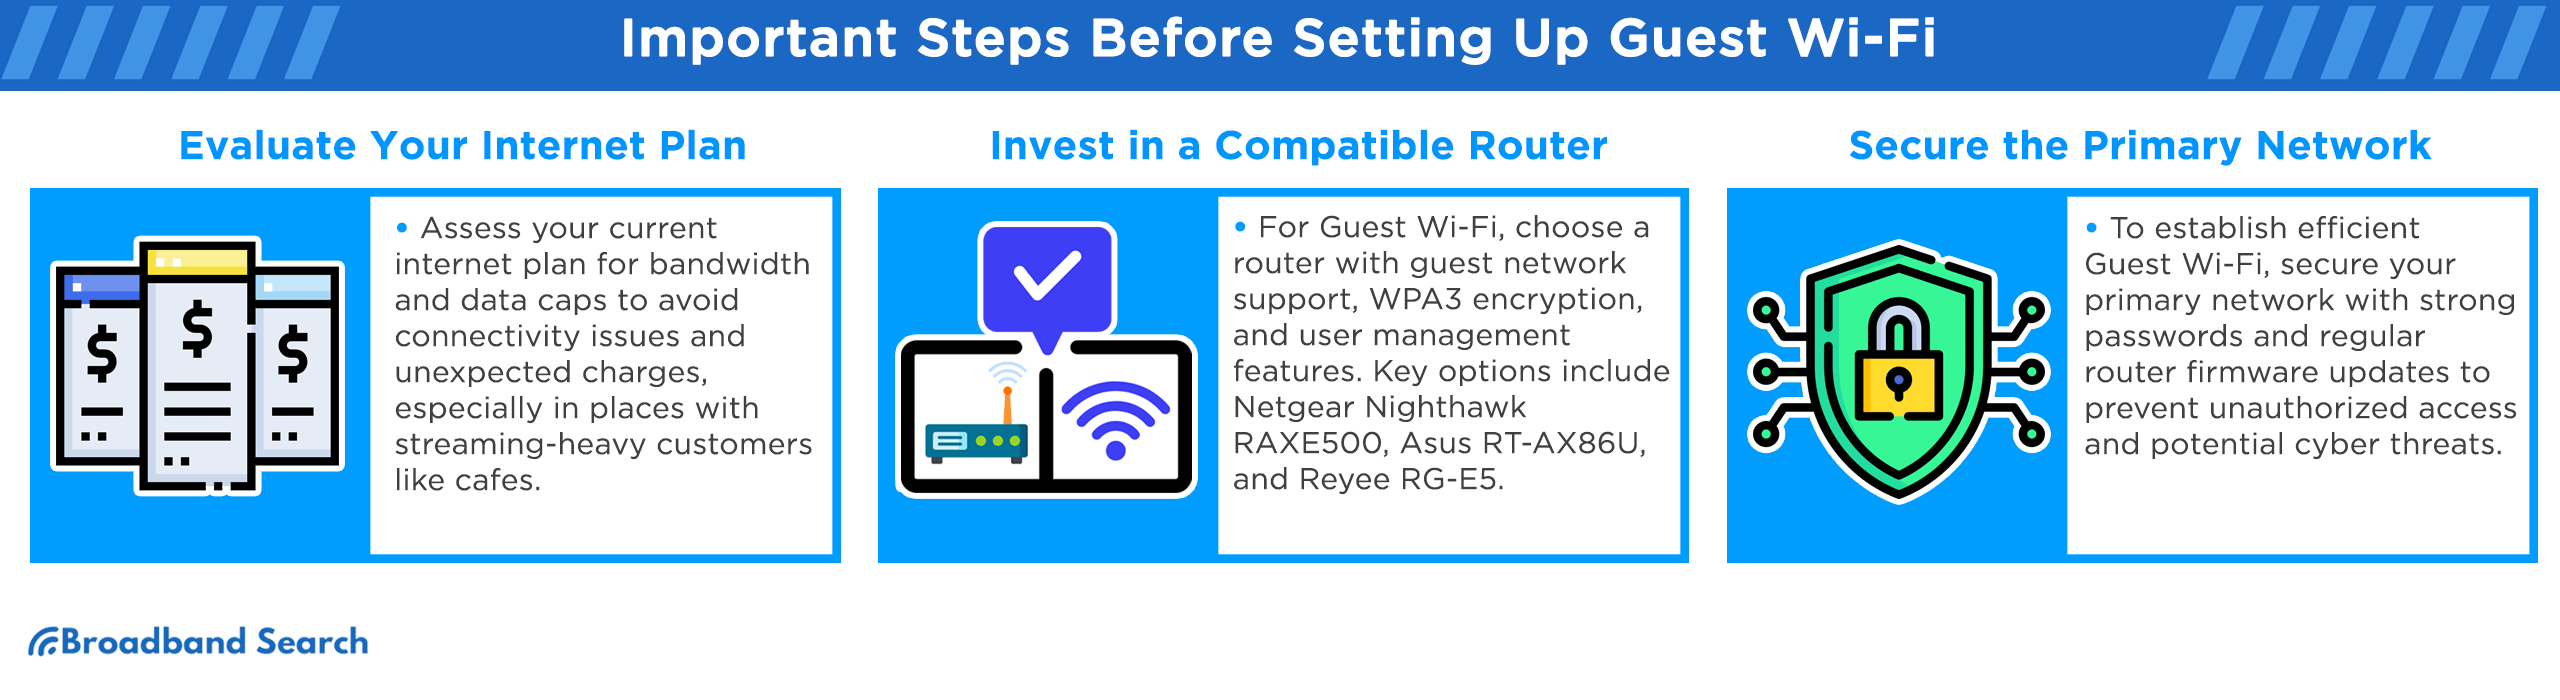
Before establishing a flawless Guest Wi-Fi, critically evaluate your internet plan. Ensuring it supports multiple connections without compromising speed or security is essential for providing an efficient and secure browsing experience for your guests.
- Analyzing Bandwidth: A meticulous bandwidth analysis is fundamental for accommodating additional users on your Guest Wi-Fi without hindering speed and performance. The Federal Communications Commission (FCC) advises a minimum of 25 Mbps for households with multiple internet users and devices, ensuring a smooth, unimpeded online experience for both guests and residents. Consider a hotel conference room: without sufficient bandwidth, a sudden influx of attendees can lead to sluggish connectivity and dissatisfaction.
- Understanding Data Caps: Recognizing and adhering to your internet plan's data limitations is essential to avoid incurring extra charges. A report from the Pew Research Center indicates that overage charges remain a concern for many internet users. Imagine a café offering free Wi-Fi; heavy usage by streaming-savvy customers can inadvertently result in exorbitant costs if the establishment isn't aware of its data cap constraints.
Invest in a Compatible Router
Investing in a compatible router is foundational for establishing a seamless Guest Wi-Fi setup. A quality router supports multiple networks, ensuring secure, fast connectivity for guests while maintaining optimal performance of the primary network.
- Feature Necessities: A competent router should inherently support guest networking and robust security protocols. Features like WPA3 encryption and a dedicated guest access portal are paramount, ensuring not only isolated connectivity for guests but also safeguarding your primary network from potential external threats and unauthorized access.
- Guest Network Capability: Routers with guest network functionality are pivotal. This feature creates a separate network, allowing visitors to access the internet without compromising the security of the primary network.
- Strong Security Options: Security is non-negotiable. Opt for routers offering robust security features like WPA3 encryption and a built-in firewall. These tools are fundamental in protecting against unauthorized access and potential cyber threats.
- User Management Features: For seamless network management, select routers providing user control options. These features enable administrators to limit guest bandwidth usage and set access schedules, ensuring efficient network operation without affecting the main connection’s performance.
- Top Router Recommendations: Each router presents unique features designed to support and secure your guest network efficiently. Before investing, evaluate your specific needs, considering factors like the number of devices, coverage area, and security requirements to make an informed decision. For the most current models and features, always refer to the latest reviews and product specifications available as of your purchase date.
- Netgear Nighthawk RAXE500: The Netgear Nighthawk RAXE500, first to offer Wi-Fi 6e, delivers mind-blowing, category-leading performance at $599. The tri-band device provides 2.39 Gbps at 15 feet, boasting a sleek design and customizable configurations, justifying its high price for speed enthusiasts.
- Asus RT-AX86U: The Asus RT-AX86U is a Wi-Fi 6 powerhouse providing speedy connectivity at 929.7 Mbps at 15 feet, essential gaming features, excellent range through walls and floors, and lifetime network protection without subscription fees, with a two-year warranty.
- Reyee RG-E5: The Reyee RG-E5 is an affordable Wi-Fi 6 router covering 3,000 square feet, ideal for mesh networks with other Reyee devices. Though lacking some features, it offers simplified setup, four Ethernet ports, and delivers 849.2 Mbps at 15 feet.
Secure the Primary Network
Securing the primary network is a prerequisite for setting up Guest Wi-Fi efficiently. Implement robust security protocols and regularly update passwords to safeguard sensitive data, ensuring a secure and seamless experience for all users.
- Changing Default Passwords: Altering default passwords is vital for network security. A recent study showed that over 23.2 million breached accounts used “123456” as a password. Adopt strong, unique passwords to fortify your network against unauthorized access and potential breaches, enhancing the overall security posture of your Wi-Fi infrastructure.
- Regular Firmware Updates: Consistent router firmware updates are essential. A report from The American Consumer Institute found that 83% of routers have vulnerabilities to potential cyber attacks. Keeping the router's firmware updated ensures that it operates efficiently, with reduced risks of security flaws or performance issues, providing a secure and stable network environment for both hosts and guests.
Setting Up Guest Wi-Fi
Activate the Guest Network Feature
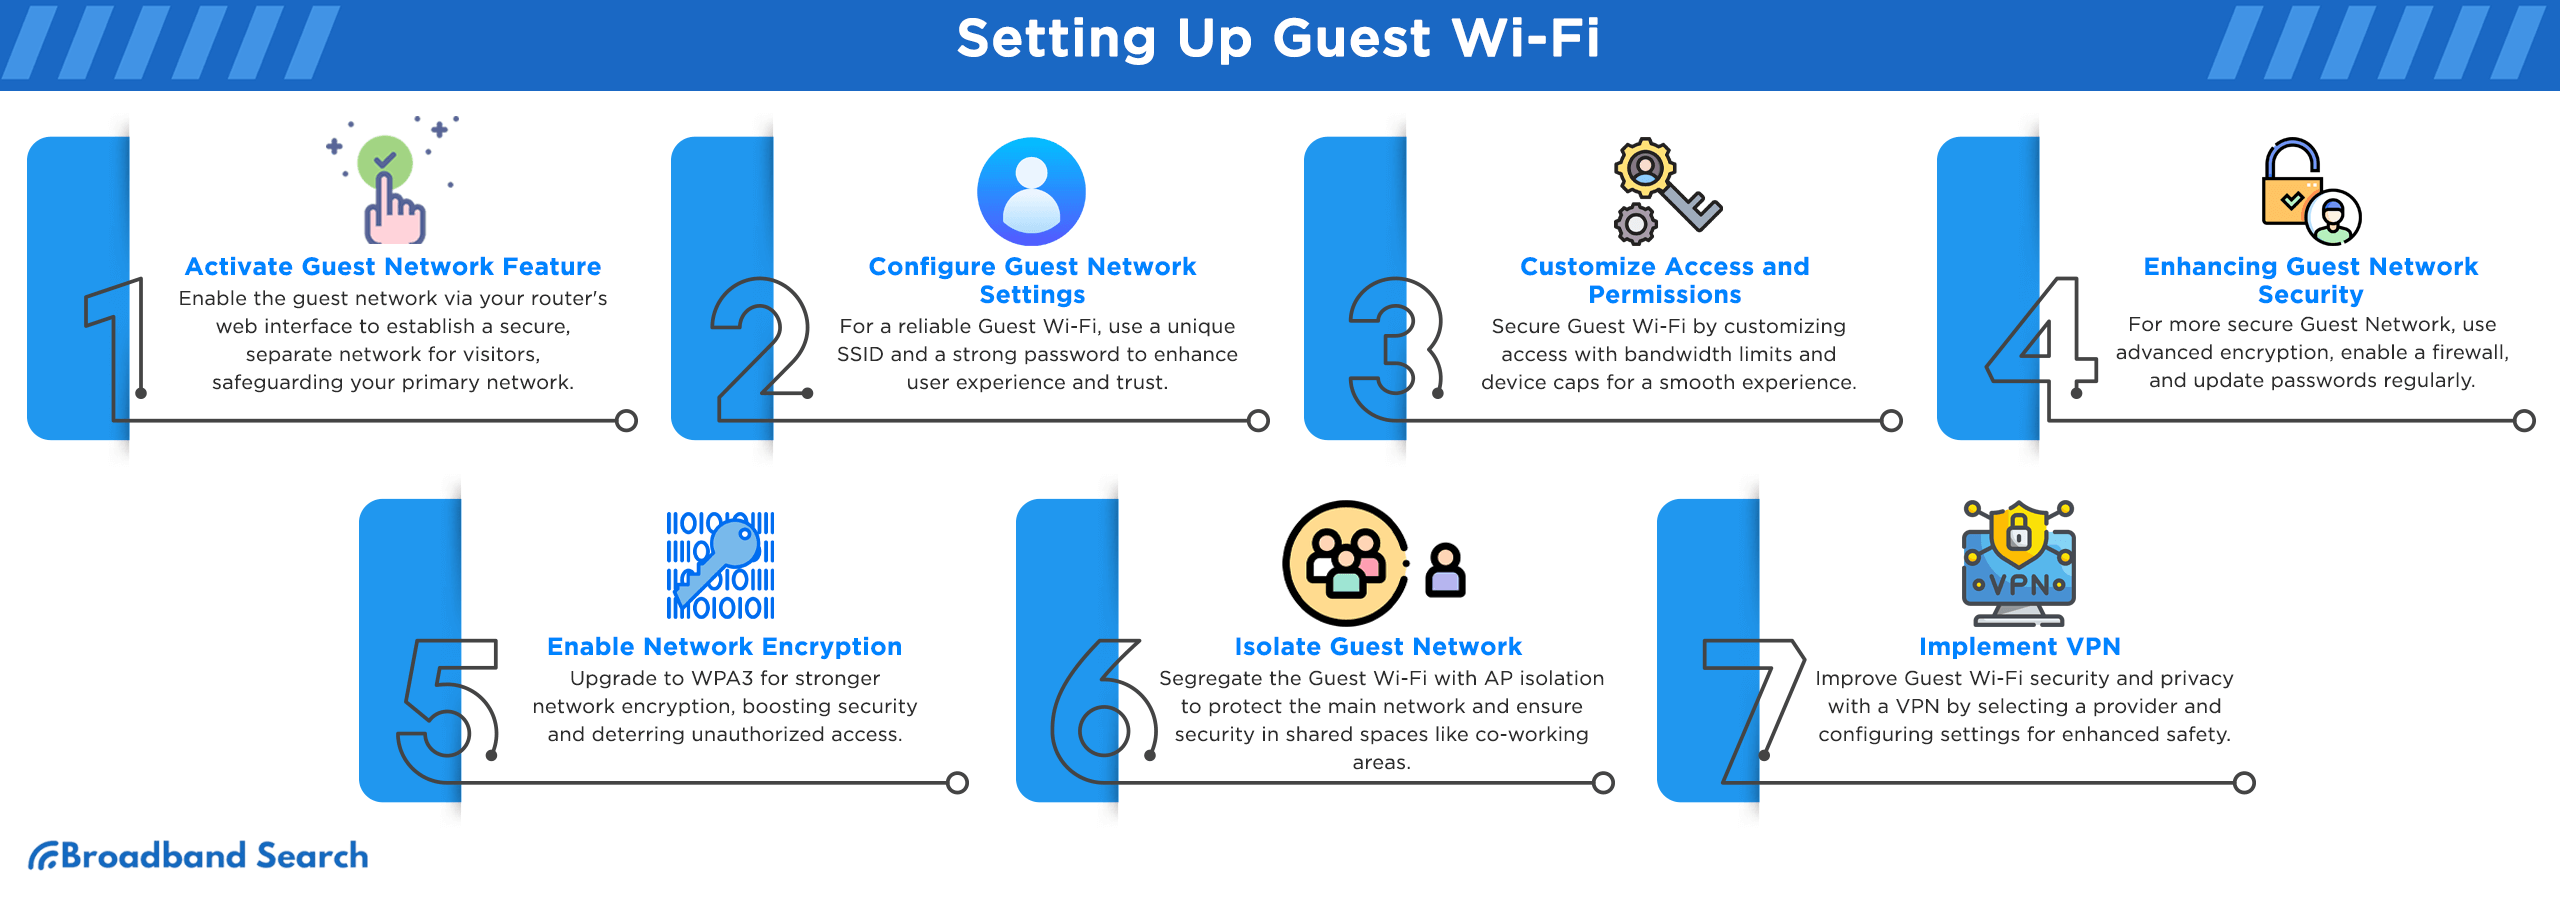
Initiating a Guest Wi-Fi begins with activating the guest network feature on your router. This distinct partition ensures visitors enjoy connectivity while your primary network remains secured, achieving a harmonious balance of access and protection.
- Logging Into Router Settings: To activate the guest network, users must first log into their router settings, typically accessible via a web interface. As an illustrative scenario, a homeowner effortlessly enhanced their home's network security by dedicating time to understand and configure their router settings, ultimately enabling a separate, secure guest Wi-Fi for visitors.
How to Log into Your Router
- Connect to your router. Either connect wirelessly or use an Ethernet cable. If online at home, you're already connected.
- Access your router's login page. Open a browser and enter the router's login URL or IP address. Typically, this is found on the router's label as "Router Login" or "Default Access". It might look like "routerlogin.net" or "192.168.1.1". If unsure, refer to your router's information or check how to find the IP address for your device.
- Input your router login credentials. To adjust router settings, you need its login details, distinct from Wi-Fi credentials. These are usually on the router's label. Common defaults are:
Username: admin
Password: password
If unsure of the login details, consider a factory reset.
Configure Guest Network Settings
To establish a functional Guest Wi-Fi, meticulously configure the network settings. This process involves setting a secure password, defining bandwidth limits, and implementing security protocols, thereby ensuring a safe and efficient guest browsing experience.
- Choosing SSID: The SSID — your network’s name — should distinctly differ from that of your main network. The Wi-Fi Alliance recommends this practice to avoid confusion among users. For instance, a community center recently revamped its network identifiers, adopting clear, distinct SSIDs for its main and guest networks, thereby enhancing user navigation and connection experiences substantially.
- Creating Secure Password: Crafting a robust, non-intuitive password is pivotal. According to a NordPass report, 80% of breaches are due to weak passwords. A renowned event venue, after experiencing unauthorized network access, revamped its security by setting complex passwords for their guest networks, reinforcing both security and guests' trust.
Customize Access and Permissions
Customizing access and permissions is integral in establishing a secure Guest Wi-Fi. Through meticulous configuration, hosts can define user access levels, set time limits, and control bandwidth usage, ensuring a protected and user-friendly network experience.
- Setting Bandwidth Limits: Efficient Guest Wi-Fi experiences hinge on allocating the right bandwidth. It's about striking a balance: ensuring guests have ample speed without compromising the main network. A renowned conference venue, for instance, faced issues during peak events. By adjusting bandwidth allocation for guest speakers and attendees, they maintained a steady main network while offering quality connectivity to their guests.
- Device Connection Limit: Determining the number of devices that can connect concurrently is essential to manage traffic effectively. A popular bookstore, which also served as a community gathering spot, implemented a device connection cap during busy hours, ensuring that patrons could browse, make purchases online, and engage in digital activities without overwhelming the network.
Enhancing Guest Network Security
Implement advanced encryption, activate a firewall, and frequently update passwords to fortify the network against potential threats while providing a secure browsing environment for your guests.
Enable Network Encryption
- Using WPA2 or WPA3: While WPA2 has been the dominant choice for years, offering substantial security measures, WPA3 presents a newer and more robust encryption protocol. For instance, a city library transitioning from WPA2 to WPA3 observed a significant decline in unauthorized network attempts, showcasing the evolving nature of security standards and their importance.
Isolate Guest Network
Isolating the Guest Wi-Fi is a strategic move in network setup. This segregation safeguards your primary network from potential threats, ensuring both guests and main users enjoy a secure and unhindered digital environment.
- Enabling AP Isolation: Activating Access Point (AP) isolation ensures that devices connected to the Guest Wi-Fi cannot communicate with one another. Consider a co-working space filled with diverse professionals: With AP isolation enabled, an entrepreneur presenting a confidential prototype on their tablet can confidently use the shared Wi-Fi, knowing other guests cannot access or view their device, guaranteeing privacy and security in a shared environment.
How to Enable or Disable Access Point Isolation
- Access your router’s control panel.
- Select either Wireless 2.4GHz or Wireless 5GHz.
- Choose the Wireless Advanced option.
- Check the Enable Client Isolation/AP Isolation box.
- Hit the Save button.
Implement VPN
Implementing a VPN on your Guest Wi-Fi ensures encrypted, secure internet access for users. This layer of protection shields data from potential cyber threats, providing guests with a safe, private browsing environment.
- VPN Benefits: Utilizing a VPN introduces an additional layer of security to the Guest Wi-Fi. According to a Norton Security report, VPNs significantly reduce the risk of cyberattacks on public networks. Reflect on a local cafe frequented by digital nomads: by incorporating a VPN, the cafe ensured that guests could conduct sensitive tasks, like online banking or client correspondence, without fear of data breaches or snooping.
- Enhanced Security: VPN adds an extra layer of security, encrypting data traffic. According to Norton Cyber Security Insights, around 875 million consumers were victims of cybercrime in 2017. A local library implemented VPN on its Guest Wi-Fi, providing patrons a secure browsing environment, thus safeguarding users against potential online threats and cyber attacks.
- Private Browsing: With VPN, guest users enjoy private browsing, preventing tracking and data harvesting by third parties. An international traveler, for instance, could securely access bank details while connected to a hotel’s Guest Wi-Fi with a VPN, ensuring data privacy amidst unknown digital territories.
- Access Control: VPN aids in controlling and monitoring access. For a business with sensitive online material, VPNs act as gatekeepers. A law firm with a Guest Wi-Fi network, for example, uses VPN to grant client access while keeping confidential case files and internal communications secure, establishing a well-defined digital perimeter.
- VPN Setup: Establishing a VPN for your Guest Wi-Fi involves selecting a reliable VPN provider, configuring the appropriate settings, and ensuring a seamless user experience. For example, a boutique hotel implemented a VPN on its Guest Wi-Fi to offer secure connectivity to guests from around the world, safeguarding their sensitive information and providing peace of mind during their stay.
How to Set up a VPN on Your Router
- Choose a VPN Service: Select a VPN provider that supports router configurations and subscribe to it.
- Gather Information: Obtain your VPN account credentials, including your username, password, and a server address you wish to connect to.
- Access Router Admin Panel: Connect to your router, either wirelessly or via an Ethernet cable. Open a web browser and enter your router’s IP address (commonly 192.168.1.1 or 192.168.0.1). Log in with your router’s admin credentials.
- Update Firmware (if necessary): Ensure your router's firmware is updated to support VPN protocols. Update firmware through your router’s admin panel if needed.
- Configure VPN: Navigate to the VPN section on the router’s admin panel (the location varies depending on the router brand and model). Select the VPN type/protocol (OpenVPN, PPTP, L2TP, etc.) that your VPN service uses. Enter your VPN credentials and server address. Adjust other settings as instructed by your VPN provider. Save the configurations.
- Connect to VPN: Once settings are saved, enable the VPN connection on your router. Your router should now connect to the VPN server, securing all devices connected to your network.
Monitoring & Management
Monitor Connected Devices
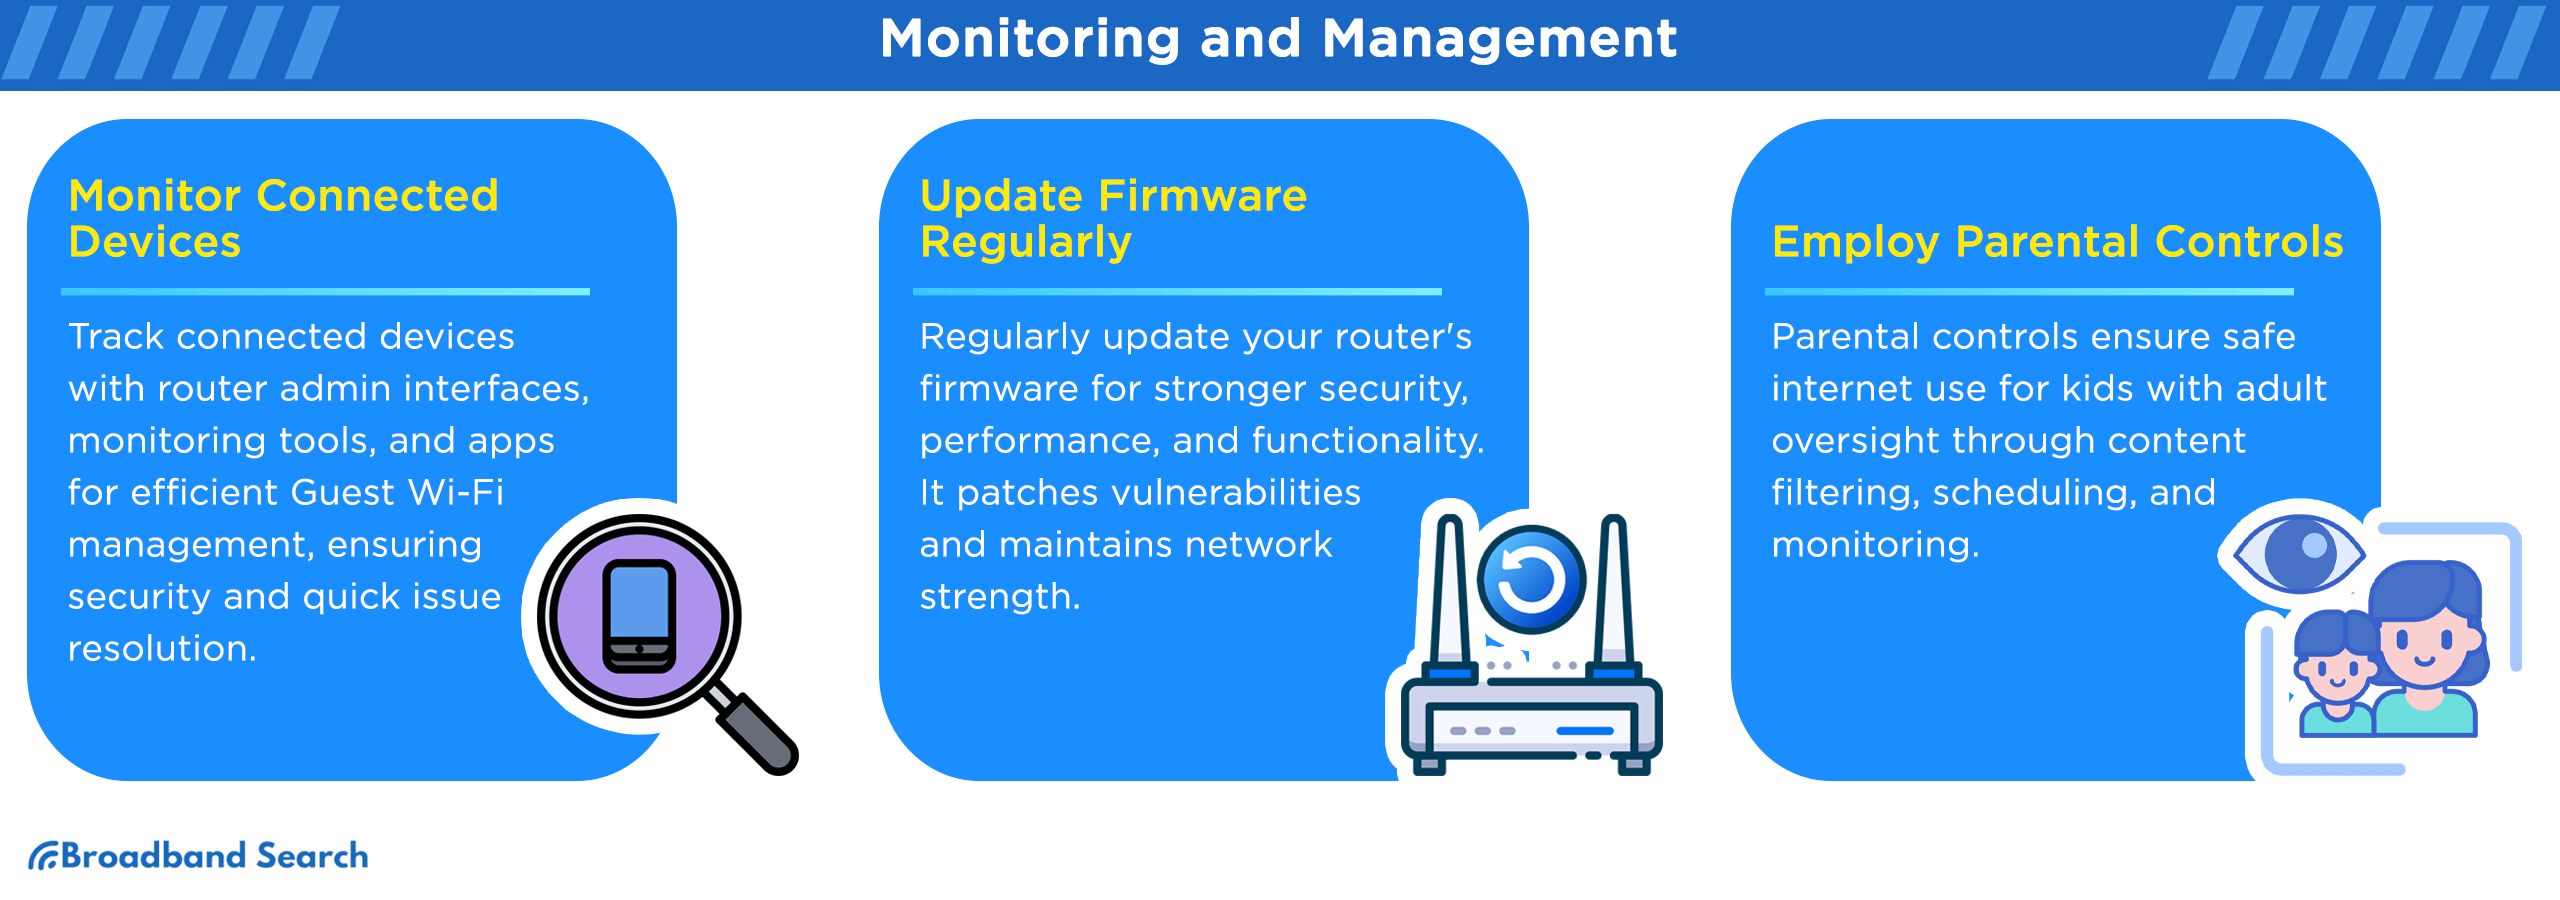
Effective Guest Wi-Fi management necessitates monitoring connected devices. This proactive approach enhances network security, optimizes performance, and allows for timely identification and resolution of issues, ensuring a dependable and secure user experience.
- Tools and Methods: Employing tools like router admin interfaces, network monitoring software, and third-party applications can provide insights into device connection statuses, data consumption patterns, and security profiles, thereby allowing for prompt identification and resolution of potential issues while ensuring optimal network performance and safeguarding against unauthorized access.
- Network Monitoring Software: Specialized software provides real-time insight into connected devices, improving network management. A school, for instance, utilized such tools to oversee student devices, ensuring adherence to usage policies and optimizing the educational environment’s online safety and efficiency.
- Router Admin Console: The router’s admin console offers a snapshot of devices connected to the network. A small business used this feature for quick, daily checks, efficiently identifying and addressing unauthorized connections, thereby safeguarding its operational data and client information.
- Third-party Applications: Various apps offer detailed analysis of network traffic and device activity. A tech-savvy homeowner employed these applications to monitor guests' device connectivity, securing their home network while providing guests with seamless, hassle-free Wi-Fi access.
Update Firmware Regularly
Consistently updating your router's firmware eradicates vulnerabilities, enhances functionality, and provides necessary security patches, ensuring a robust and secure networking environment for all users.
- Explanation: Regular firmware updates are indispensable for maintaining both security and performance of your network devices. For instance, a local business thwarted a significant security breach attempt simply by keeping their router’s firmware updated, thereby patching vulnerabilities and ensuring an encrypted and stable connection for both employees and customers in real-time.
- How-to Guide: The firmware updating process involves logging into the router’s admin interface, navigating to the firmware or update section, and following the provided instructions to install the update. In a practical scenario, a school's IT department scheduled regular firmware updates during off-hours, ensuring uninterrupted and secure internet access during crucial online testing periods for students.
- Input your router's IP address into a web browser's search bar. Note: Click "Proceed" or "Advanced > Proceed" if a connection warning appears.
- Log in using your credentials. First-time users can find these in the router’s manual or on the router itself.
Note: If credentials are forgotten, reset the router and use default login information.
Employ Parental Controls
Employing parental controls is integral for safe online environments. These tools facilitate content filtering, usage scheduling, and monitoring, providing a secure and age-appropriate internet experience for younger users while aiding adult oversight.
- Content Filters: Integrating content filters is pivotal for blocking access to inappropriate or unsafe websites. For instance, a public library implemented advanced content filtering on their network, ensuring that users of all ages could securely browse the internet without risk of encountering harmful or inappropriate content, thereby maintaining a safe and conducive learning environment for everyone.
- Access Scheduling: By setting access schedules, network administrators can define specific times when guests can use the network. A health clinic effectively utilized this feature, allowing patient access to Wi-Fi during operating hours only, which not only provided convenience to visitors but also helped in securing the network during off-hours, minimizing potential unauthorized access and bandwidth usage.
Troubleshooting Common Issues
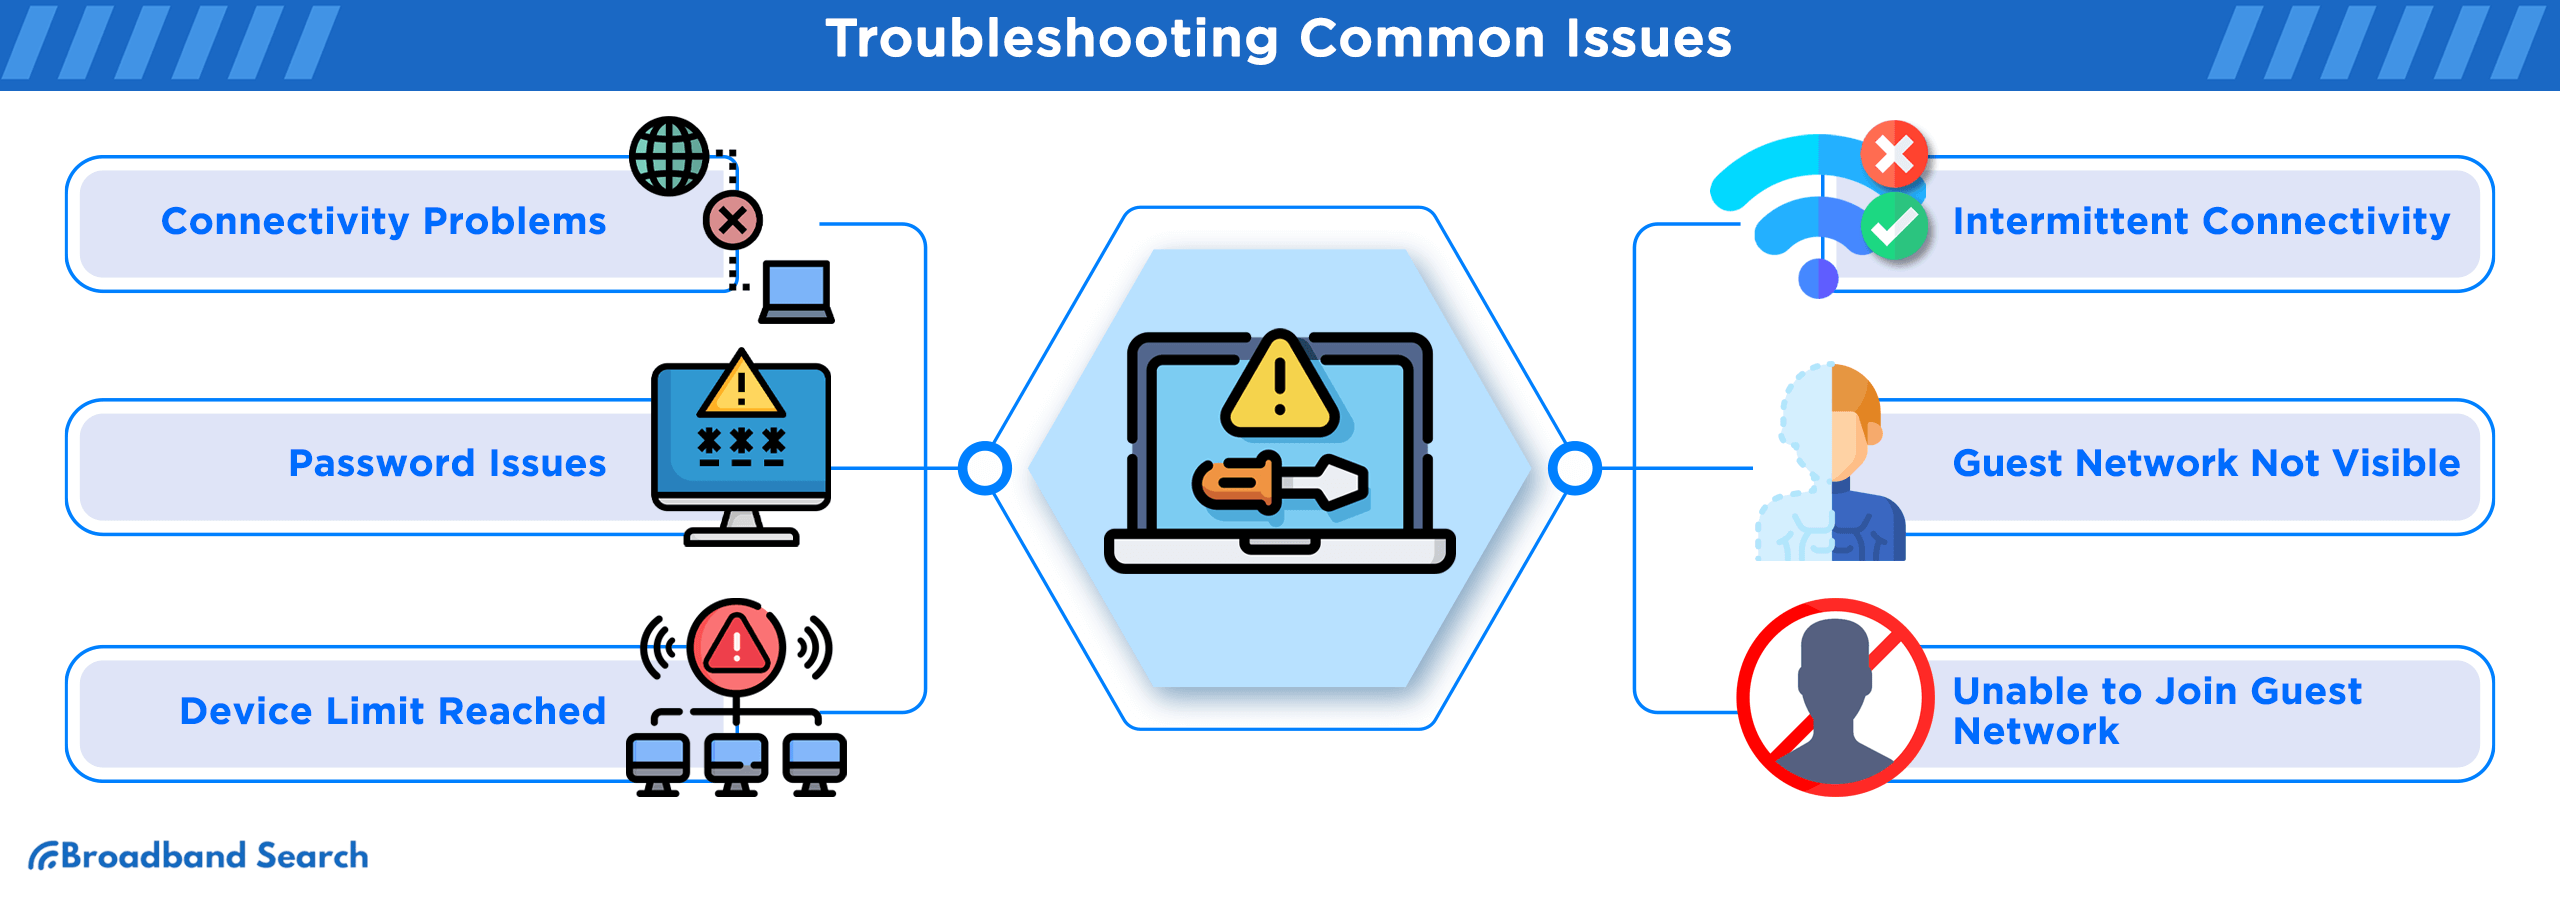
Connectivity Problems
Addressing connectivity problems is a common challenge in network management. Efficient troubleshooting involves understanding root causes, from signal interference to device compatibility, ensuring uninterrupted and high-quality internet access for all users.
- Slow or No Connection: Slow or absent connectivity often plagues users. Basic troubleshooting steps include restarting the router and verifying no widespread service outages exist. For instance, during a crucial virtual business meeting, an executive experienced connectivity issues. Quick troubleshooting, including a router restart, promptly resolved the issue, ensuring the meeting proceeded without significant interruption, thereby safeguarding professional relationships and business operations.
How To Power Cycle Your Router
- Disconnect both modem and router from the power source.
- Pause for a minimum of 15 seconds.
- Reconnect the modem to power. Wait for 1-2 minutes, then power up the router.
- Ensure all lights on the modem's panel turn green before proceeding.
- Connect your computer to the network and check the internet connection, preferably using an Ethernet cable for testing.
How To Boost Your Wi-Fi Signal
- Choose a Central Location: For optimal signal coverage, position your router centrally in the building. For two-story homes, place it high on a first-floor shelf to enhance signal strength to the second floor.
- Swap Out Router Antenna: Replace the default omnidirectional antenna with a high-gain one to direct the signal where needed, preventing signal waste on unnecessary areas.
- Elevate the Router: Avoid signal interference from walls, floors, and metal objects by keeping your router off the floor and away from obstructions.
- Update Network Adapter: If your device struggles to communicate with the router, consider replacing its card-based network adapter with a USB one with an external antenna for stronger signal transmission.
- Minimize Wireless Interference: Since many devices use the 2.4 GHz frequency, purchase those that operate on 5.8 GHz or 900 MHz to reduce signal noise and interference.
- Install a Wireless Repeater: To extend signal range, position a wireless repeater midway between your router and device. Choose repeaters carefully as some might be challenging to set up and could potentially slow down the network.
- Update Firmware & Drivers: Regularly check for and install updates from your router and network adapter manufacturers to enhance performance and reliability.
- Switch Wireless Channel: If experiencing interference, change your router’s broadcast channel via its configuration page. Devices will automatically adjust to the new channel without requiring any setup.
- Upgrade to 802.11n: For faster speeds, better range, and stability, upgrade older devices to 802.11n. Although it’s compatible with older technologies, you’ll notice performance improvements only after upgrading your devices and adapters.
- Use Equipment from One Manufacturer: For potential performance improvement, especially over long distances or through thick walls, consider using devices from the same manufacturer.
Password Issues
Password issues are a common hurdle in network access. Address these promptly by resetting passwords, employing strong, unique passcodes, and updating security protocols to ensure secure and hassle-free connectivity for all users.
- Recovery and Reset: Most modern routers and their associated mobile apps provide features for password recovery or reset. By navigating the router’s interface or utilizing the dedicated app, users can easily regain access. For instance, a cafe owner once encountered a chaotic situation when the Wi-Fi password was misplaced during peak hours. Swiftly accessing the router's interface, they managed to reset the password, promptly restoring customer connectivity and ensuring business continuity.
How to Change Your Router's Wi-Fi Password
- Launch a browser on your Mac or PC, enter your router's IP address, and press Enter.
- Log in with the router’s username and password (commonly ‘admin’ or ‘userAdmin’). If these credentials fail, check the router’s back, side, or bottom for details, or contact the manufacturer or your ISP.
- Find and click on Wireless, Wireless Security, WLAN, or Wi-Fi Settings, typically located in the top or left menu.
- Input your desired strong password into the Wi-Fi Password or Key field.
- Hit Save or Apply; your Wi-Fi password will update instantly.
Device Limit Reached
When the device limit on a network is reached, users face connectivity restrictions. Addressing this requires understanding router capacity, optimizing settings, and ensuring a balance between user demand and network performance.
- Managing Devices: Network administrators often need to free up slots for new devices by removing existing ones. Accessing the router’s interface allows viewing and managing connected devices. Consider a conference center experiencing connectivity issues during a large event; by diligently accessing and managing the device list, the staff efficiently allocated connectivity, ensuring essential devices remained connected while removing non-essential ones, facilitating smooth event execution.
Intermittent Connectivity
Intermittent connectivity issues can hinder network reliability. To mitigate this, identify and rectify potential causes such as signal interference, outdated firmware, or hardware malfunctions, ensuring a stable and consistent internet connection for all users.
- Identifying & Resolving Intermittent: Intermittent connectivity can stem from various causes:
- Device Interference: Household gadgets like cordless phones or microwave ovens can interfere with Wi-Fi signals.
- Router's Channel Overlap: Routers set on overlapping channels can cause congestion.
- Outdated Firmware: Older firmware versions might not be optimized for current network demands.
- Physical Obstructions: Walls and floors can weaken signals. Solutions include updating the router’s firmware, changing its channel, or repositioning the router to minimize physical obstructions.
Leveraging tools and apps, such as Wi-Fi Analyzer, can offer insights into channel usage and suggest optimal channels for least interference. For instance, a tech startup in a shared workspace, plagued by erratic Wi-Fi, utilized such a tool. By switching channels and updating firmware, they experienced markedly improved connectivity, ensuring seamless product development and team collaboration.
Guest Network Not Visible
A non-visible Guest Network often results from configuration errors or broadcasting issues. Swift diagnosis and rectification, including checking SSID broadcast settings and router placement, are crucial for ensuring visible, accessible networks for guests.
- Visibility Issues: Ensuring your guest network’s visibility begins with activating SSID Broadcast within your router settings. Common visibility problems may stem from router glitches, outdated firmware, or compatibility issues with specific devices trying to access the network. For example, a local art gallery hosting an interactive digital exhibition faced visibility challenges with their guest network. Quick troubleshooting identified a firmware update was needed.
How to Enable SSID Broadcast
- Open a browser on a device connected to Wi-Fi.
- Input your router’s IP address in the address field and press Enter.
- Log in with your credentials.
- Navigate to the Wi-Fi settings in your router’s control panel.
- Locate and enable the SSID broadcast option, labeled as “Enable SSID Broadcast”, “SSID Visibility”, or similar.
- Click “Save” or “Apply” to implement the changes; a confirmation might be required.
Unable to Join Guest Network
Challenges joining a Guest Network often stem from incorrect passwords, limited access permissions, or device restrictions. Identifying and resolving these issues promptly ensures easy, secure access for all intended users.
- Joining Problems: Users often encounter issues joining Guest Networks due to incompatible security protocols between the device and the network, or MAC address filtering implemented for enhanced security. For instance, during a corporate seminar, attendees struggled to connect their devices to the venue's Guest Network. Swift adjustment of the network settings by the IT support team facilitated seamless connectivity, allowing attendees to engage in the seminar’s interactive segments without further technological hindrance.
- Incompatible Security Protocols: If a device doesn't support the security protocol set on the network, it cannot connect. For instance, older devices might not support newer WPA3 protocols, necessitating a network configuration adjustment to accommodate these devices.
- MAC Address Filtering: Routers with MAC address filtering enabled only allow access to devices with specific MAC addresses. If a device's MAC address isn't whitelisted, connection will be impossible.
- Incorrect Password or SSID: A simple but common issue is mistyping the network name (SSID) or password. Double-checking these details can resolve this problem swiftly. Users should ensure they have the correct and case-sensitive network credentials for successful access.
How to Change Your Wireless Router Settings
- Connect to your network via wireless or ethernet. Note: Ethernet is preferable, as changing channels will temporarily disconnect wireless users.
- Access the router configuration page. Enter the router's IP address into the address bar and hit Enter. Note: If the IP doesn’t work, adjust the penultimate number and try again.
- Log in using the default credentials. Typically, the username is ‘admin’. Find the default password on the router, manual, or packaging. If unsuccessful, search online using your router model and “password”.
- Navigate to Wireless Settings. Locate the Wireless Settings page, which may be on the top or left menu, though locations vary.
- Select a new channel. Opt for channels 1, 6, or 11 on the 2.4 GHz band as they don’t overlap. Sharing a channel with nearby networks is better than overlapping. Ensure you're using WPA2 security and 20 MHz channels. For 5 GHz, use channels 36-48 or 149-165, with 40 MHz width recommended. Save or apply changes.
- Router Reboot. Expect a brief disconnection if you’re on Wi-Fi while channels change. Restart your network tool to confirm the successful application of changes.
The Bottomline
Setting up and managing a secure Guest Wi-Fi network demands careful consideration of various elements, including choosing compatible hardware, implementing robust security protocols, and actively monitoring and troubleshooting connectivity issues. From selecting an appropriate router and creating a separate network to ensuring firmware is consistently updated, each step is crucial in maintaining a secure and efficient environment for both guests and the primary network users.
As digital interactions continue to dominate personal and professional landscapes, providing guests with reliable and secure internet access is non-negotiable. By adhering to the outlined best practices and proactively addressing common issues, network administrators can offer an inviting digital space where users feel secure and connected, enhancing the overall guest experience.
FAQ
Can guests access my private network through Guest Wi-Fi?
No, guests cannot access your private network through Guest Wi-Fi if it's configured correctly. Proper setup involves creating a separate network segment for guests, effectively isolating your private network and safeguarding sensitive data from unauthorized access.
Is there a way to limit the bandwidth usage on the Guest Network?
Yes, you can limit bandwidth on your Guest Network. Most modern routers allow administrators to set bandwidth caps for guests, ensuring that your main network retains optimal speed and performance while still providing guests with sufficient access.
Why is the Guest Wi-Fi signal weaker than the main network?
Guest Wi-Fi signal strength may appear weaker if it’s allocated less bandwidth than the main network or if it’s operating on a different frequency band. Adjusting bandwidth allocation or matching frequency bands can help improve signal strength for guest users.
What should I do if I cannot set up Guest Wi-Fi on my router?
If you’re unable to set up Guest Wi-Fi, your router may not support this feature, or you might need a firmware update. Consult your device's manual or the manufacturer’s website for specific instructions and support related to enabling Guest Wi-Fi functionality.
Can I set up multiple Guest Networks?
Creating multiple Guest Networks is possible with many advanced routers. This feature is useful for businesses or households that wish to provide different access levels or credentials for various types of guests, facilitating flexible and secure connectivity options.